Building bridges (Step 3: Engineering)

image

image

image


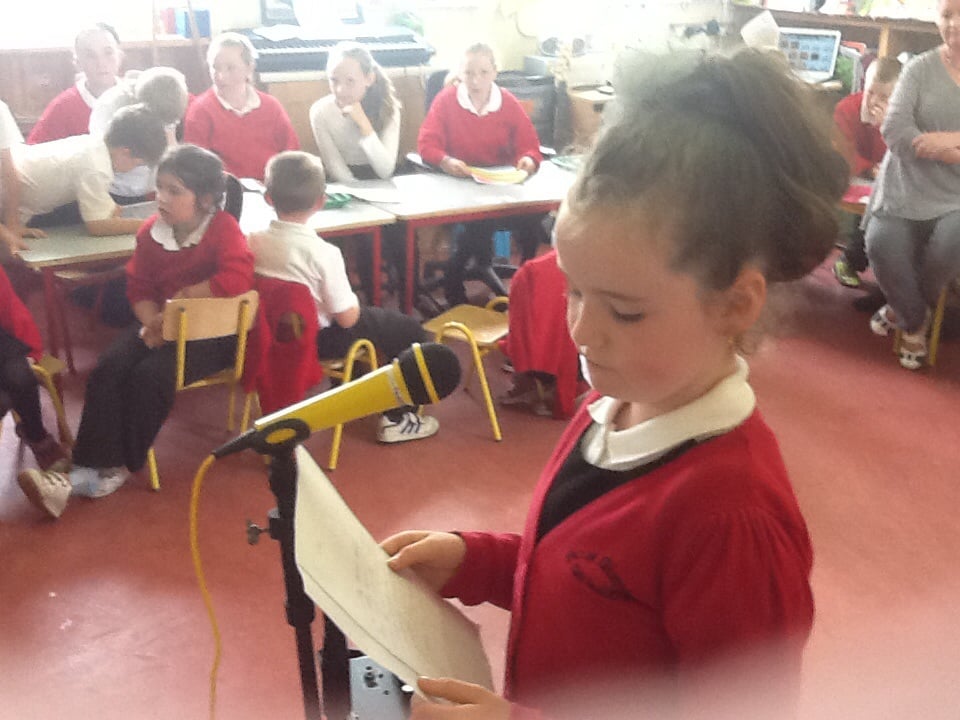
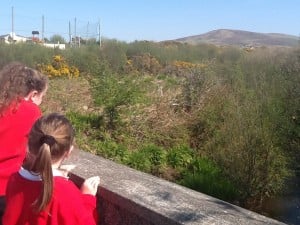
Today we were learning about bridges. We watched some cool videos about bridges and how to build them. It looked quite easy. When we finished reading and looking at bridges we walked down to a bridge near our school. There was two sides of the bridge but one was newly built and the other side was built a long time ago.

The teacher asked some questions like, “How do you think they built the arch in the bridge?”

When we got back up to the school we had to design a bridge and see whose bridge would hold the most weights. Our bridge won. We got a prize. I really enjoyed learning about bridges. I learnt a lot!🌉
From Ava’s blog
image

image

image

image


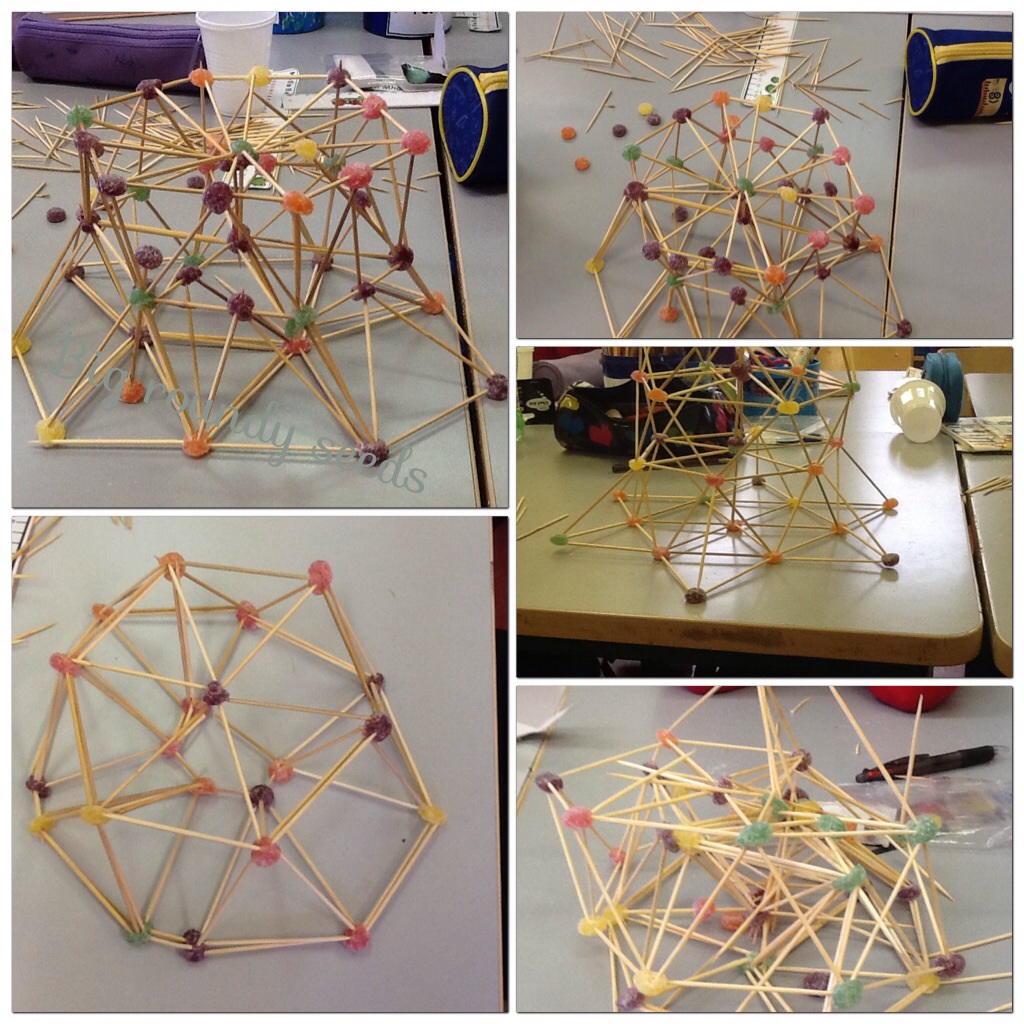
We are learning about bridges in school. Our teacher is doing lots of stuff to learn about bridges with us. On Friday, we all made our own bridges! Obviously they were not life size but using lollipop sticks, sellotape, paper and a pile of 2/3 books each side to balance it out. The space between the books had to be exactly 20cm.

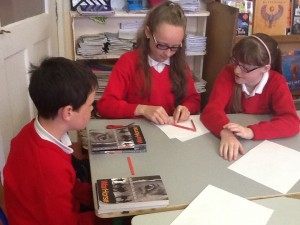
In my group was Abby, Róisín and I. We worked together to build our bridge. The whole classroom was full of children huddled around each table, full of cool ideas to build their bridges.

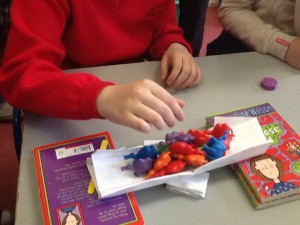
The aim of the game was for the bridge to hold little weights. Each one was getting heavier and heavier. My group cut a piece of paper and stuck each side to the books and it stood up in an arch shape. Then we stood two lollipop sticks under it and in the middle another piece of paper rolled up and stood in the middle under the bridge. We managed to only hold two 10g weights.

Ava’s team won. I don’t know exactly how much they held but it was a lot! In the end it was just a bit of fun, creativity and learning!

From April’s Blog

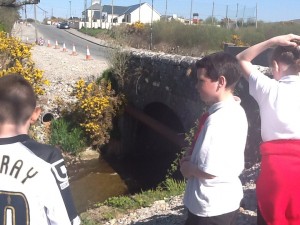
Today we went down to the bridge to take a look at how it was built. First we read a few paragraphs about which bridges are stronger and how they are built!

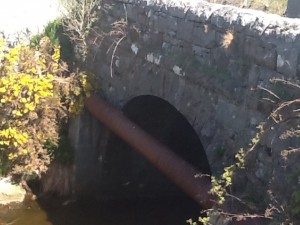
The bridge we were taking a look at was very old and I think it was made from stone and cement. In the middle of the arch there is a different shaped stone called the ‘Key stone.’ The key stone keeps all the other stones in places! The bridge is very old one side but the other side is more modern!

I really liked learning about bridges but I wouldn’t like to build a real one.
From Ailish’s blog

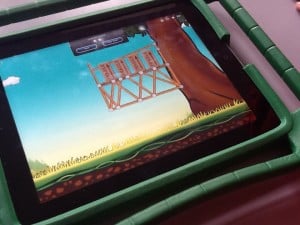
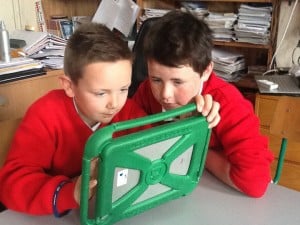
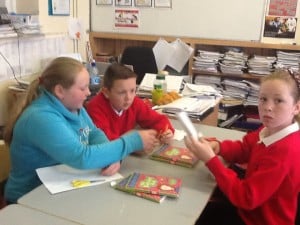
Last Friday, 3rd, 4th, 5th and 6th class tried out a new building app called “Simple Physics”. We tried it out because lately in the last few days we have been talking about bridges and how they are made. We even had a contest to build a bridge with six lollipop sticks, three pieces of paper and it had to be 20cm’s apart. We had to try to see which bridge could hold the most weight.

In the app you have to build different things and you have a money limit too. When you think your bridge is strong enough you press a button and it examines it for you to see if it is safe for people or vehicles to walk/stand on. If it’s not safe you have to try again but even sometimes when it is safe your structure will be over the maximum budget which is $250💰. It is a really good app and I would recommend it!🔩🔨🔧💰
From Amy’s Blog

Last week our class started learning about bridges. We watched some YouTube videos about bridges,went to see our local bridge, used an app that helped you learn more about structure and built our own bridges!

To build our bridges we used 30cm of cellotape, 6 lollipop sticks, 3 sheets of paper and the bridge had to be 20cm long. In my group was Lisa, Jack and I. First we thought of some ideas and then got working. We made 1 sheet of paper into the shape of a bridge, by shaping it. We then added another sheet of paper around the first one so it would hold. We then added some cellotape onto the sides of the bridge so it would make it wider. We also didn’t have to use any lollipop sticks which was good!!!
The bridges had to hold some 50g weights which was a lot for bridges made out of paper. In the end Ava’s group came first and our group came second but it was a lot of fun!!!

From Sophie’s Blog

image

image

Learning HTML

We have been experimenting with learning HTML. We have created a project called ‘Our Favourite Things’ with our HTML coding.
We usually work with Scratch, for animations and games, or code.org to practice coding, but this term we tried HTML.
Our project can be viewed at www.inver.org/HTML/. We are delighted to learn that our HTML project has been shortlisted for the Junior Spider Awards 2015!

Screen Shot 2015-04-12 at 16.11.47

Eircom Junior Spider Awards

The-Jnr-Spiders-Logo-Shortlisted-(orange-back)

We are delighted to have been chosen for the Eircom Junior Spider Awards 2015.

We are in the Mega category because we are a primary school.

Our school blog, which you are reading now, has been nominated in the Best Group Project section and our HTML project at http://www.inver.org/HTML has been nominated in the Creative Web Coding section. We usually do Scratch, but this year we tried HTML and we liked it.

These are the amazing finalists in our categories:

Best Group Project

Creative Web Coding

We feel honoured to be listed along with these projects!

Toothpick and Jellytot structures #SciWk2014 (Step 3: Engineering)

On Tuesday, our classroom split up in groups to make our Jellytot and toothpick construction. In my group was me, Ailish and Amy. 💁
We started off by making 2-D triangles then we built it up and up and it fell a bit apart 🙈 but we managed to fix it using struts to strengthen the structure.
We tried out putting Ava’s huge rubber on it for 10 secs and it stayed on! 👀
When it came time to hold a bowl of 1 kilogram stuff, it slanted and fell! It stayed on for 8 seconds though! 😋
We were proud because who knew that anyone could make a structure using toothpicks and jelly tots?! 🙊
image

By April

Lava lamps #SciWk2014 (Step 1 : Materials)

Today, the 14th of November 2014, 3rd, 4th, 5th and 6th class made lava lamps. We started it off by being divided into two groups, the first group would fill their plastic bottles half full with water. The second group would do the same things as the first except instead of water they would fill the bottles with oil.Once that was done we got into our other groups, (the ones for making the lava lamps). Some of us weren’t in groups and some of us were. then the bottles that had oil in them put in water and the bottles that had water in them put oil in the bottles. The oil came to the top of the bottle and the water sank to the bottom.Then everyone put food colouring into the bottles. We had a choice of red, green and blue food colouring. I put in green food colouring. Afterwards some of us put in 1 an Alka Seltzer and let the lava lamps settle while we were out at break. After break the people who didn’t put in an Alka Seltzer put in two of them so they could see how it worked on their bottles. It’s very handy that when we didn’t have the Alka Seltzer we could just turn the bottle upside down and it worked the same way it just didn’t work for as long. It was really cool to see that we could make our own lava lamps with oil, water and food colouring instead of buying a lava lamp!

image
By Amy

Tornado in a bottle #SciWk2014 (Step 1: Energy and Forces)

On Wednesday we did an experiment. The experiment was called “tornado in a bottle “.
First we got a plastic bottle,we filled 3/4 of the bottle up with water. We then added a small amount of black current to make the water into a light purple colour. Once we did that we put another bottle on top of the bottom bottle. We stuck that on with duct tape. Once we had secured the two bottles with duct tape we flipped the bottle over and shook it so the water looked like a tornado while moving into the other bottle. It was a great experiment and I really enjoyed it.

image
By Sophie

Germination #SciWk2014 (Step 1: Living Things)

Screen Shot 2014-11-17 at 21.05.56

On Monday we began an experiment with germinating peas. We all went in groups.  Abby and I were in a group.

First we got cardboard plates  and some tissue paper. Then we put the tissue on the plate. Then we each placed 8 peas on the tissue then we poured water on it. Our teacher put Ailish and Lisa’s under a web cam. The web camera takes photos every 15 minutes.  There is a pea that has a root comming out of it and the other has a crack in it. On Friday we watched a video of the peas germinating (see below). It was really cool.

By Grace

Science Week Fun!

The children had so much fun trying out different experiments this week for Science Week. We explored and learned about air pressure, surface tension, electric charge and floating and sinking. The children were amazed by some of the results and were so interested in the science behind it. Here are some photos of our experiments.

image

Making lava lamps

image

Skewer a balloon

image

Two straws

image

What’s magnetic?

image

Sinking layers

image

Balloon on a wall

Clockwise or anti-clockwise? #SciWk 2014 Step 2

For Science Week, we’ve been trying to decide whether water goes out of our plughole in a clockwise or anti-clockwise direction. We put some glitter into our sinks and wash-hand basins and checked them all this morning. We allowed the water to stand for 10 minutes and then pulled the plug. The water came out in a clockwise direction from all our sinks, except one, where the plug was faulty and the water had leaked out before we could check it.

What have you found in your school?


An Gleoiseach Sleibhe – The Twite (Step 1: Environmental Awareness and Care)

Visit from Susan
Today a lady called Susan came to our school to teach us about the twite. First she showed us a couple of pictures of the twite and some other birds. Seamus,John,Liam and I were ‘Speicies Management Team’ so we picked different people for different jobs.
Then we went outside and made a Quatrat with some rope and we took down the names of the flowers and plantes on it. Amy, April, Amy and Orla were bird watchers and looked out for birds then Amy would take there names down.

Next we went inside to do art but first we had lunch. Seamus, Liam and I did a picture with a cliff and heather with twite eating seeds from hay bales.
When we finished we cleaned up and Susan went to Glenamoy. It was fun.
By Kian
image